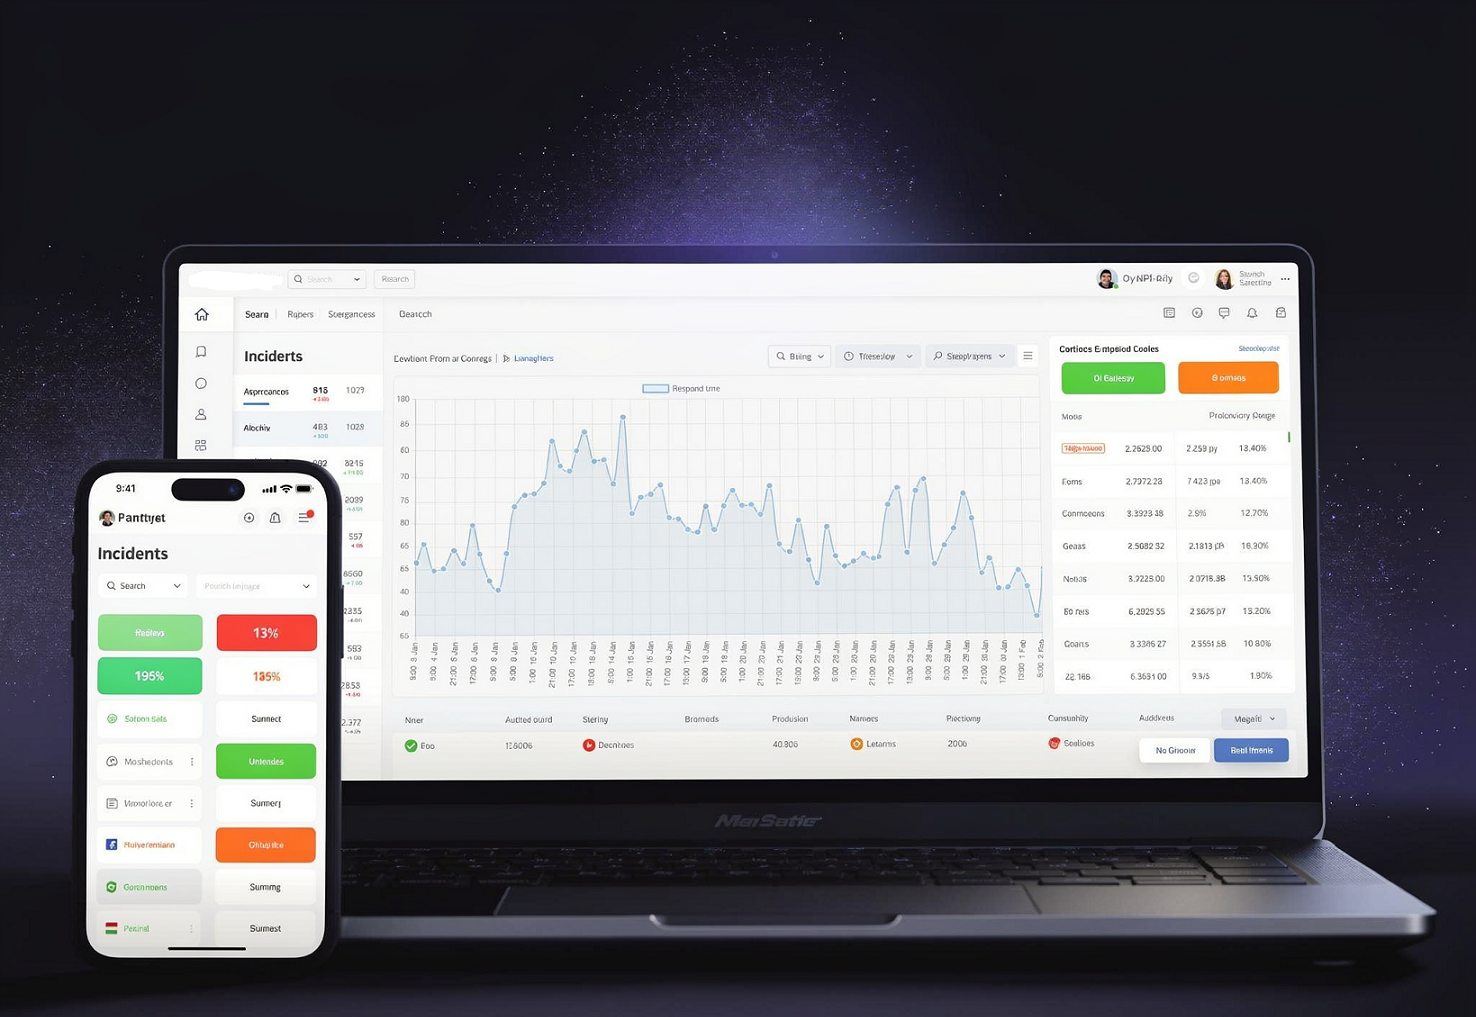
Here’s a simple step-by-step guide to set up monitoring in NotifyNinja.
ㅤ
1. Log In to Dashboard
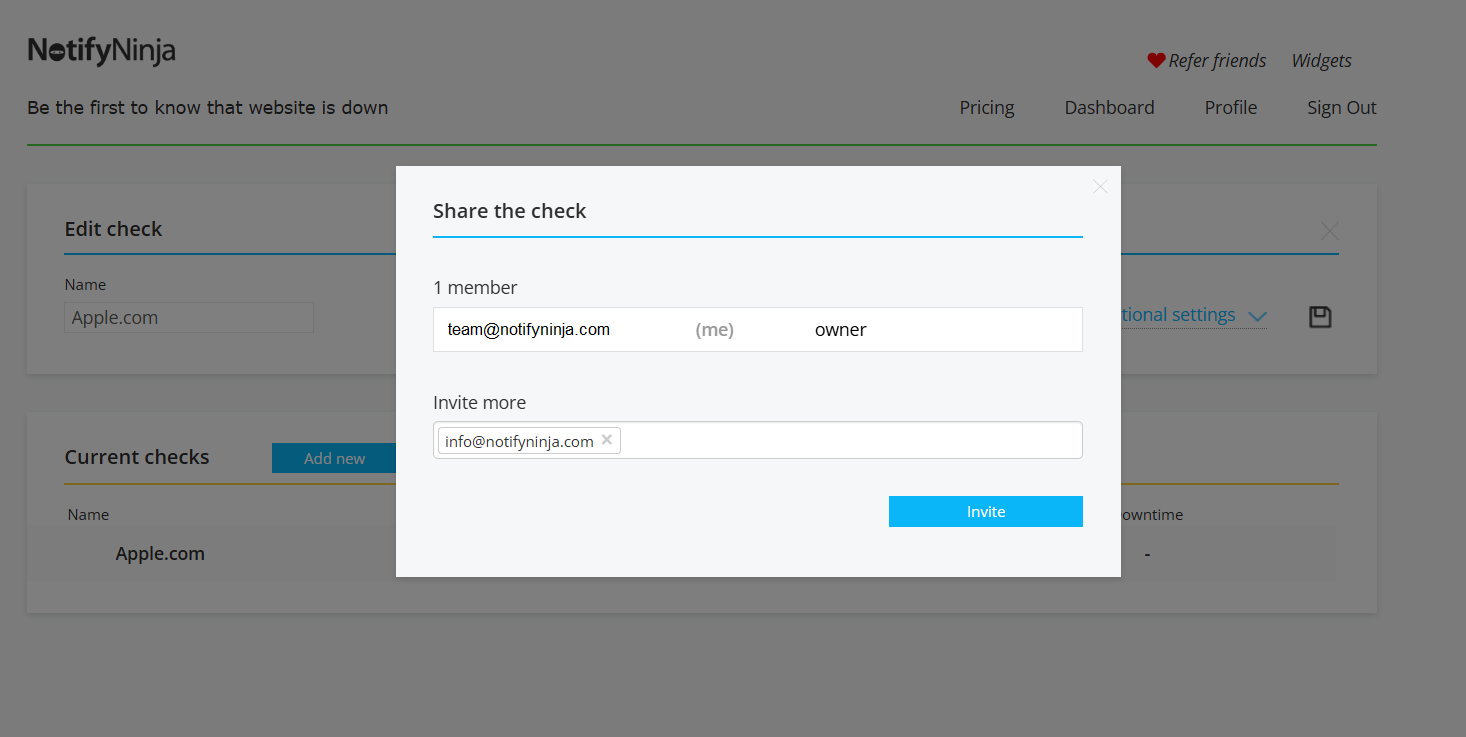
Go to notifyninja.com, click “Try now for free” and sign in with your email and password. You’ll land on the main dashboard showing your active monitors (likely empty if you’re new). You could even invite your team members: click Members, write an email and click Invite.
ㅤ
ㅤ
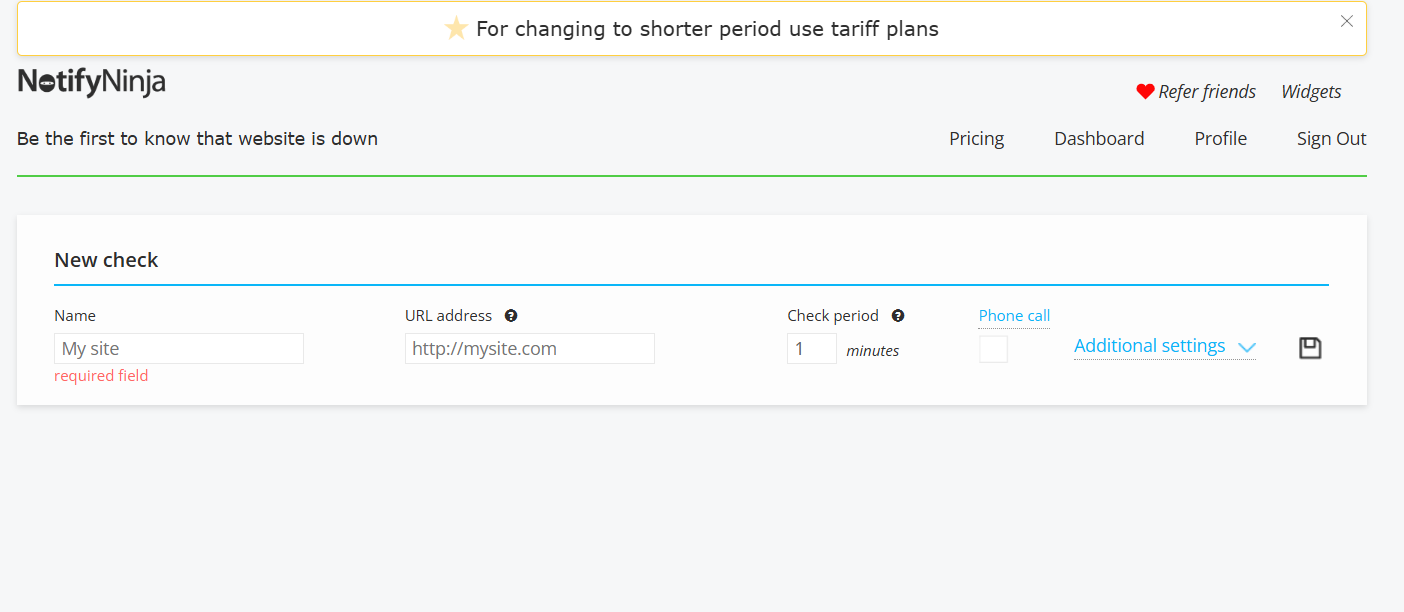
2. Add New Monitor
Click the “Add Monitor” or button. Select the monitor type: HTTP/HTTPS for websites, PING for servers, DNS, TCP ports, SMTP, or others based on your needs. Enter the target URL, IP, or domain (e.g., https://your-site.com).
ㅤ
ㅤ
3. Configure Check Settings
Set the check interval (every 1, 5, or 10 minutes – faster catches issues quicker). Optionally, define failure thresholds (e.g., alert after 2-3 failed checks) to avoid false alarms. Save – done!
ㅤ
4. Set Up Notifications
Click Profile, add alert channels like email, Telegram, phone calls, or SMS. Link them to this monitor – NotifyNinja sends alerts in 30-60 seconds on downtime.
ㅤ

ㅤ
5. Save and Test
Click Save. Test by temporarily breaking the target (e.g., wrong URL) to confirm alerts fire correctly.
ㅤ
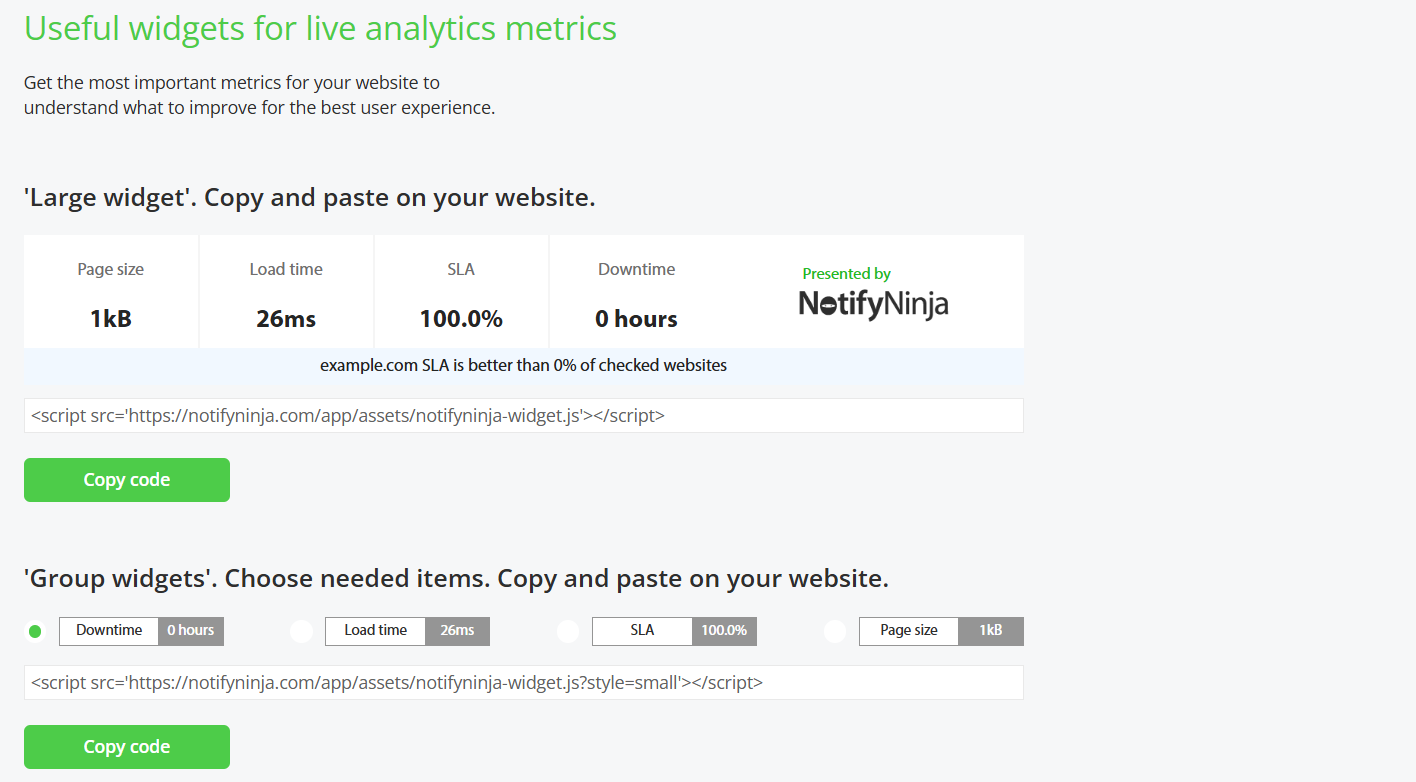
6. Use Widgets and API Documementation
Use Widgets or API Documentation if you need.
ㅤ
ㅤ
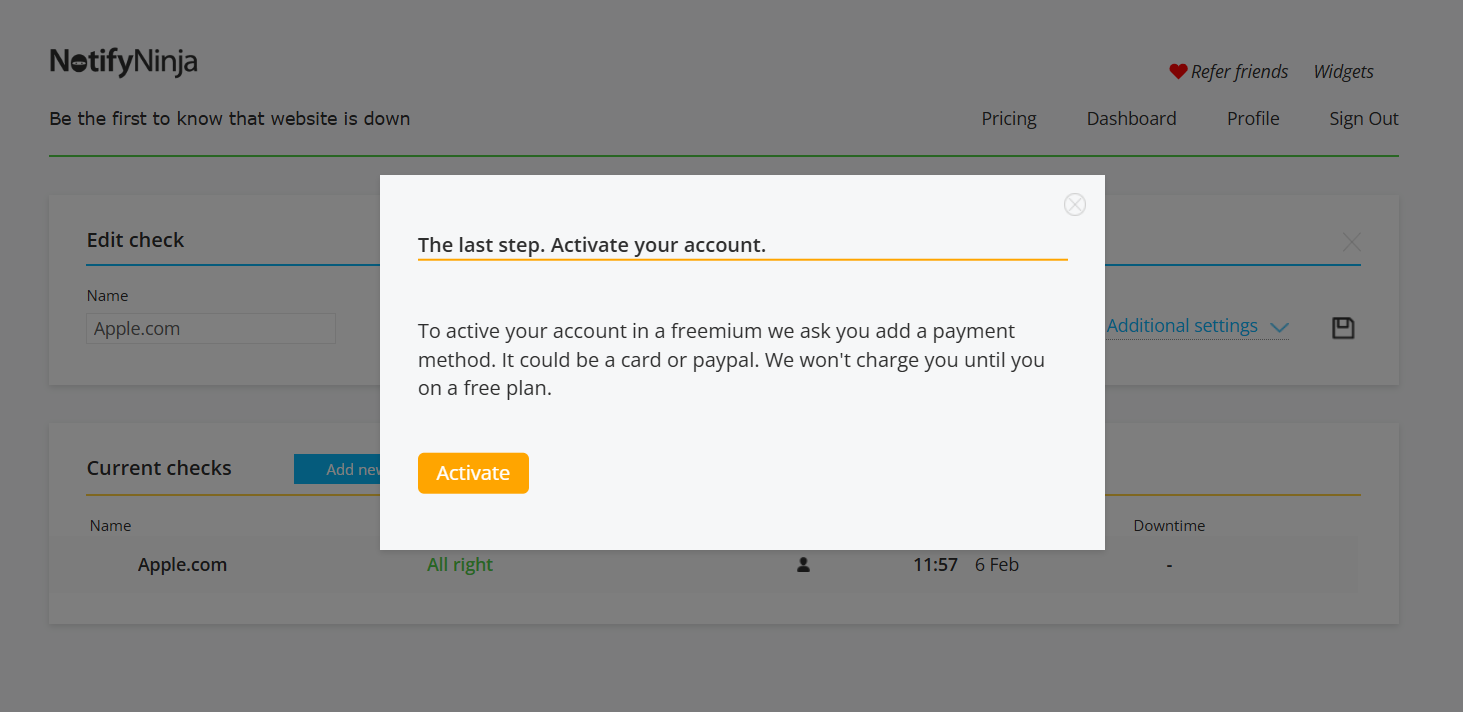
7. Activate and pay
Click Activate button and pay.
ㅤ
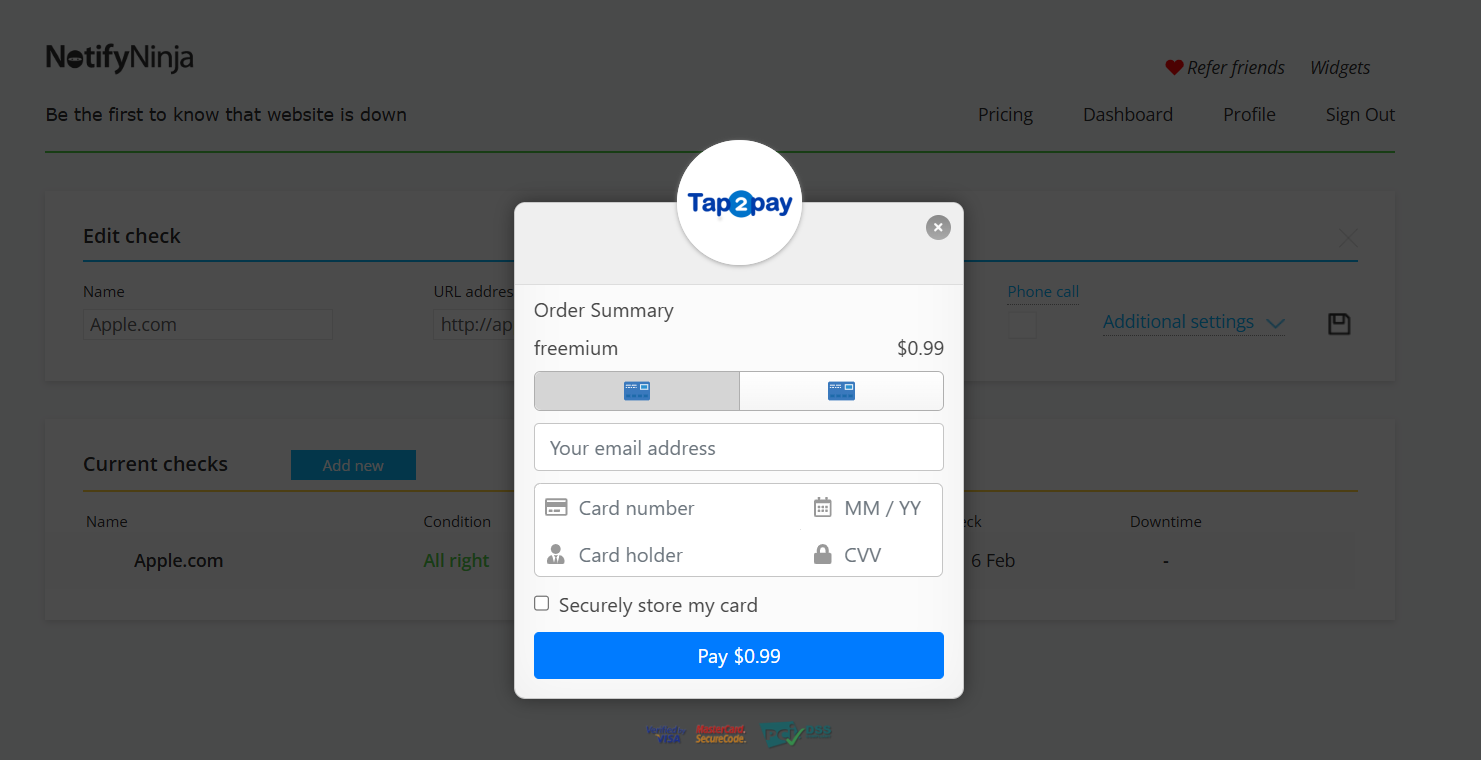
We use a secure payment system Tap2Pay, that provides a wide range of payment methods: Visa/Mastercard, PayPal, Apple Pay, and more.
ㅤ
ㅤ
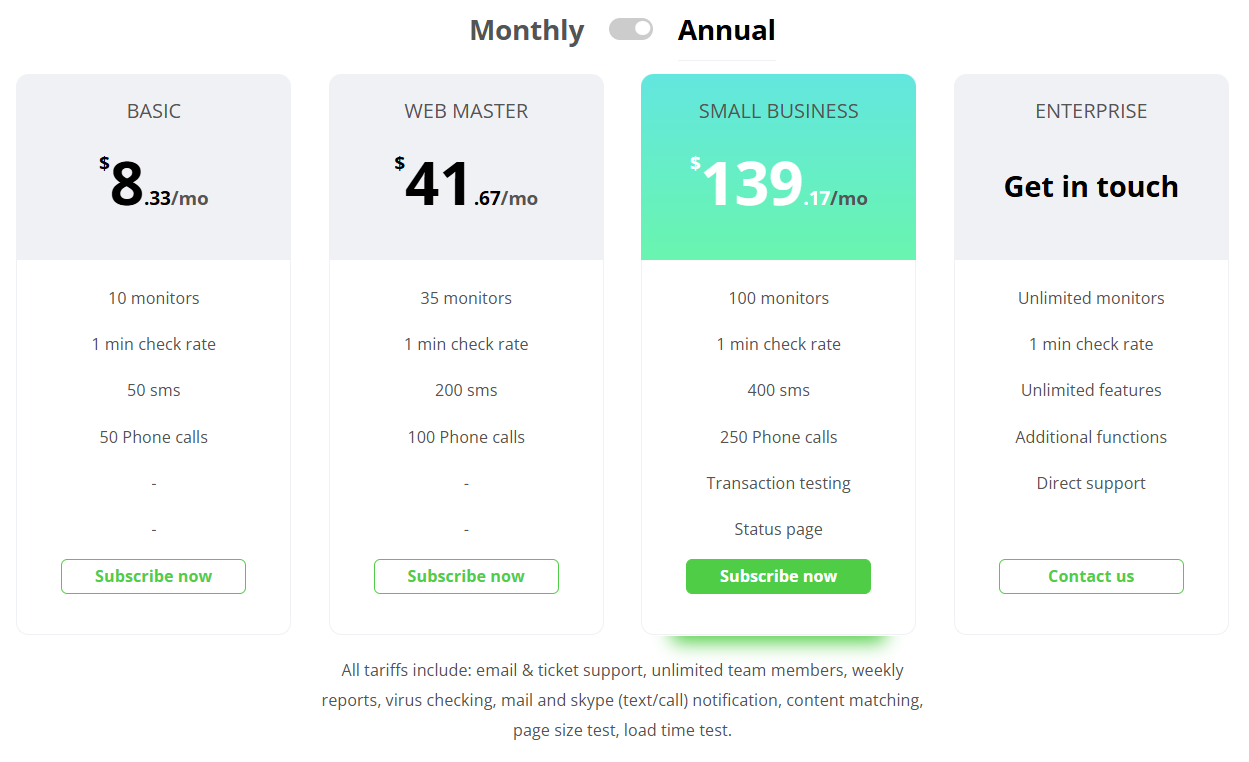
8. Upgrade
Upgrade to paid for 30-second intervals and advanced features. You can change your tarrif plan any time. Click Pricing ans select your tarrif plan starting from $8.33/mo, click Subscribe now.
Your first monitor is live! Do you have any questions, please, contact us?
Leave a Reply